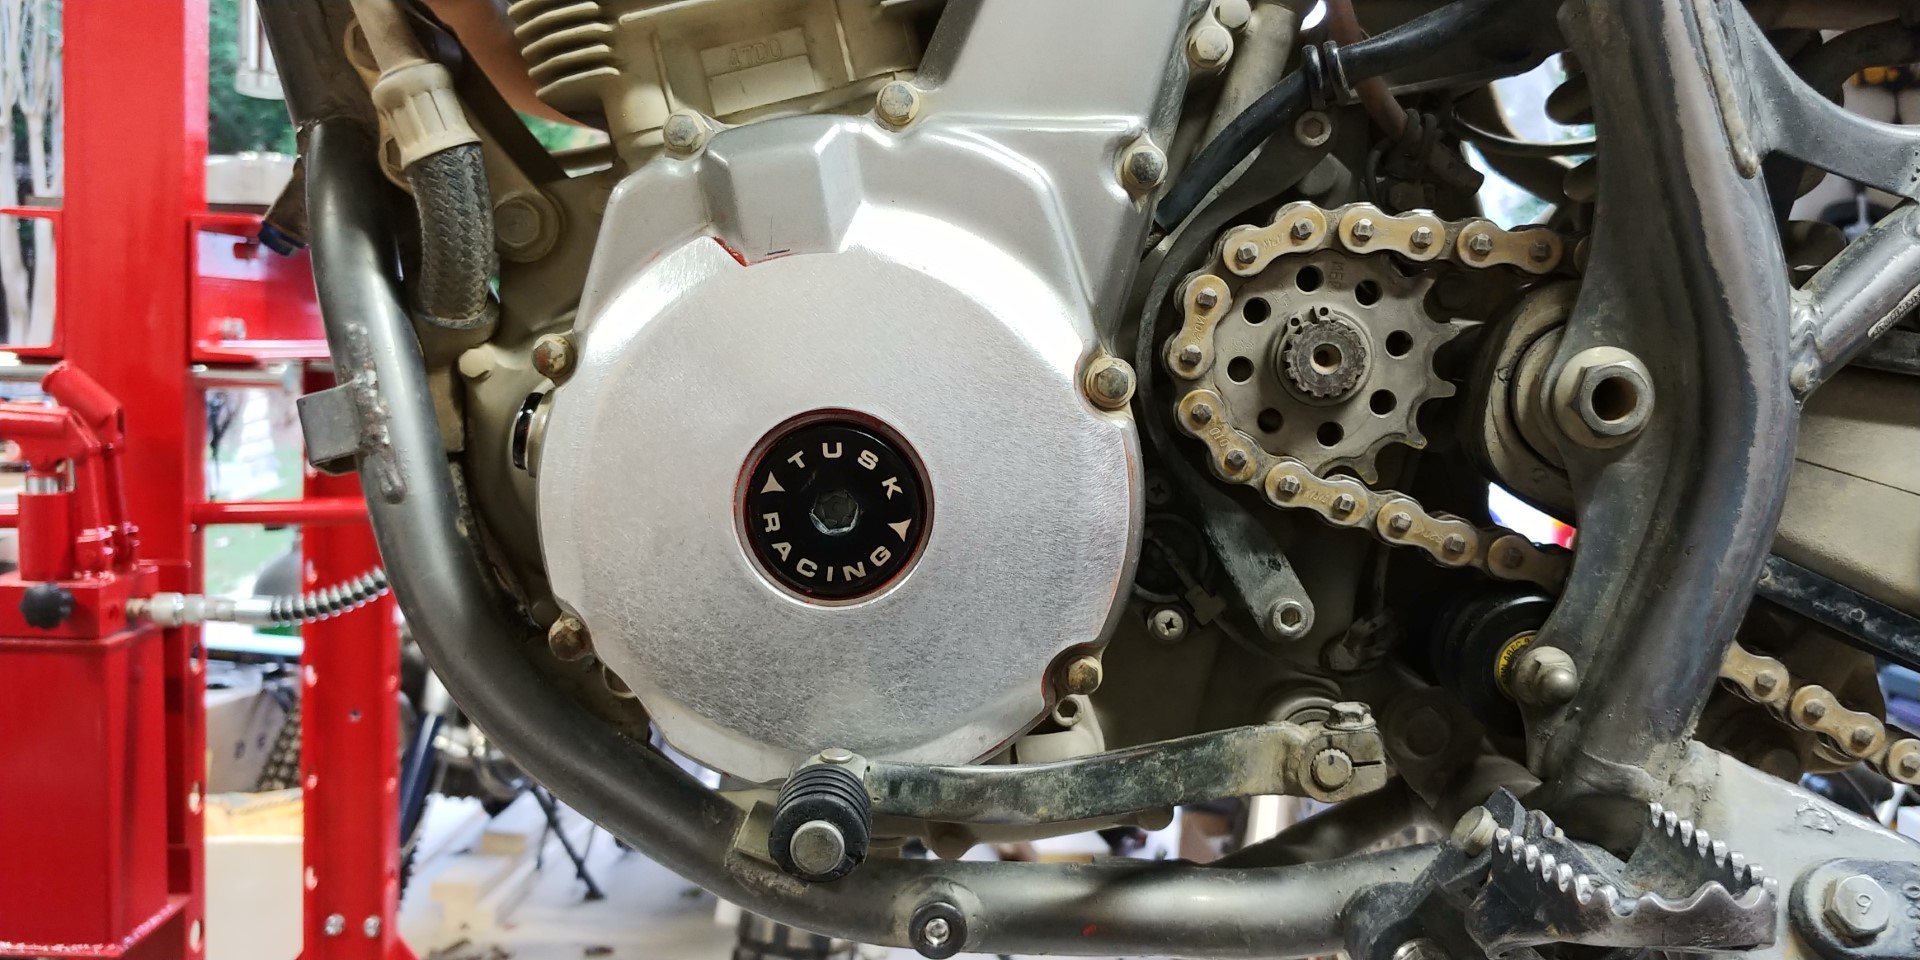
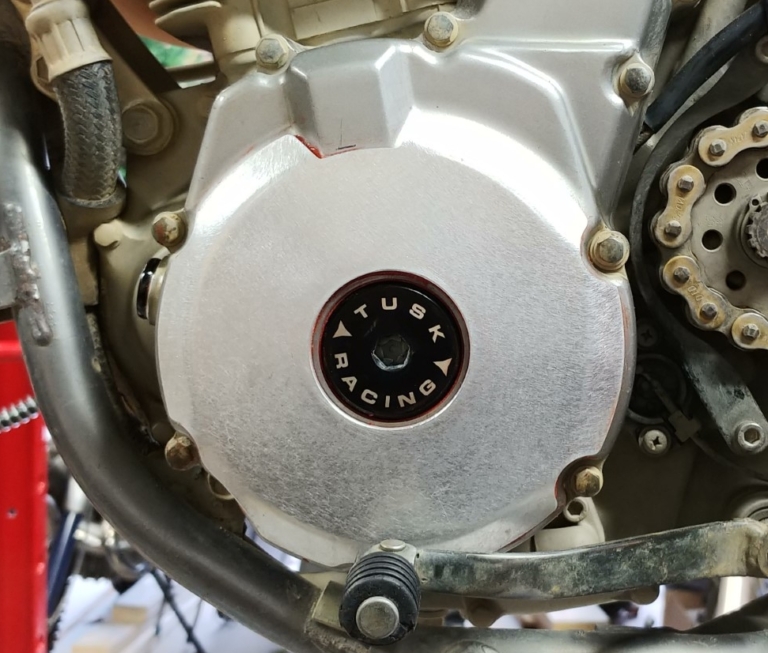
The instructions below should be used to attach case armor to your engine cases. The process is not very difficult. However, removal of the armor after the RTV has cured requires removal of the side covers and soaking them in gasoline…so it’s a good idea to take your time and get it right the first time!
Step 1 – Clean the armor and your cases with acetone (preferred) or alcohol using a clean rag
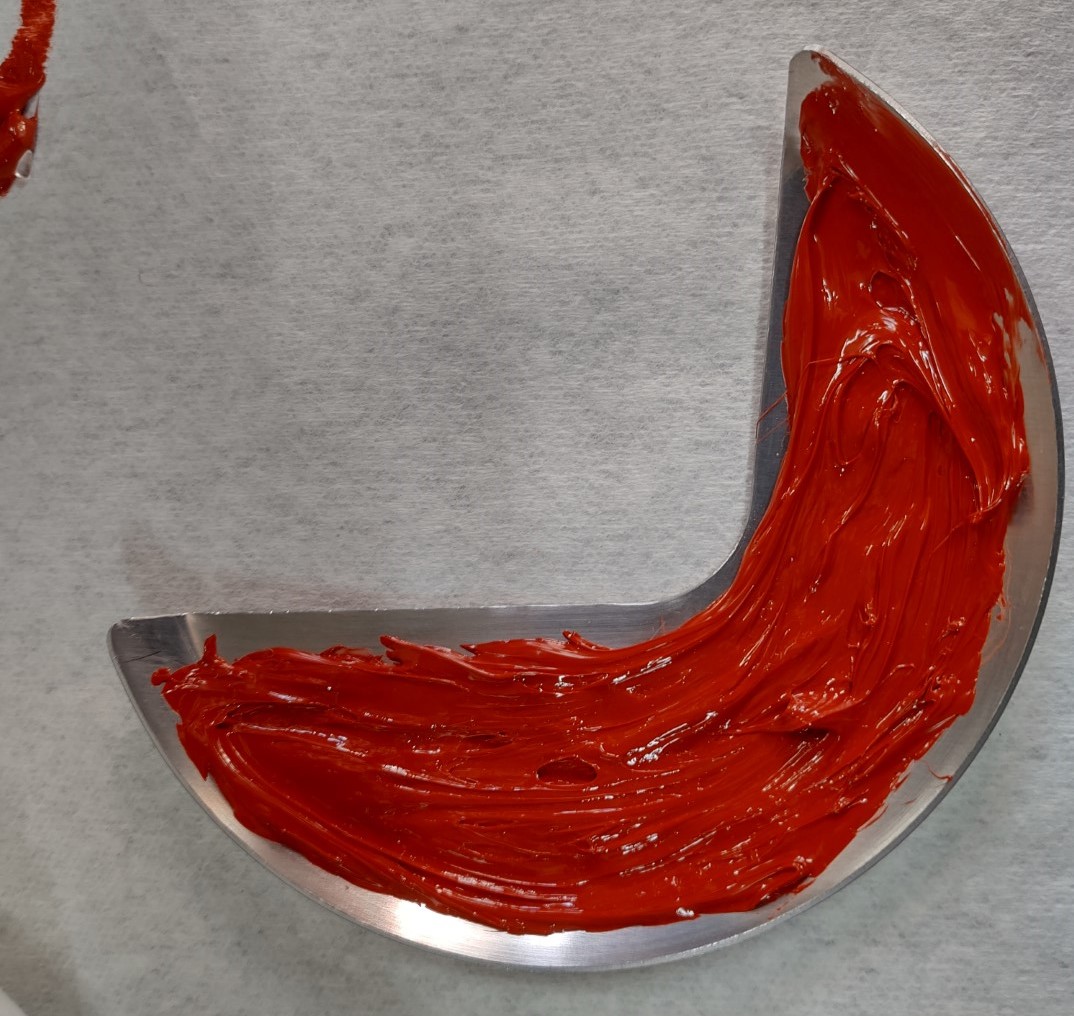
Step 2 – Apply a thick layer of RTV silicone (red is preferred) on the inside surface of the armor…the RTV should be about 1/8in thick and 1/2in away from internal and external edges to allow for squish during install
Step 3 – Press the armor onto the side covers and apply pressure to squeeze excess material out
Step 4 – Verify the armor is positioned correctly on the covers
Step 4 – Wipe away any excess RTV material that comes out
Step 5 – Hold the armor in place for about 1min
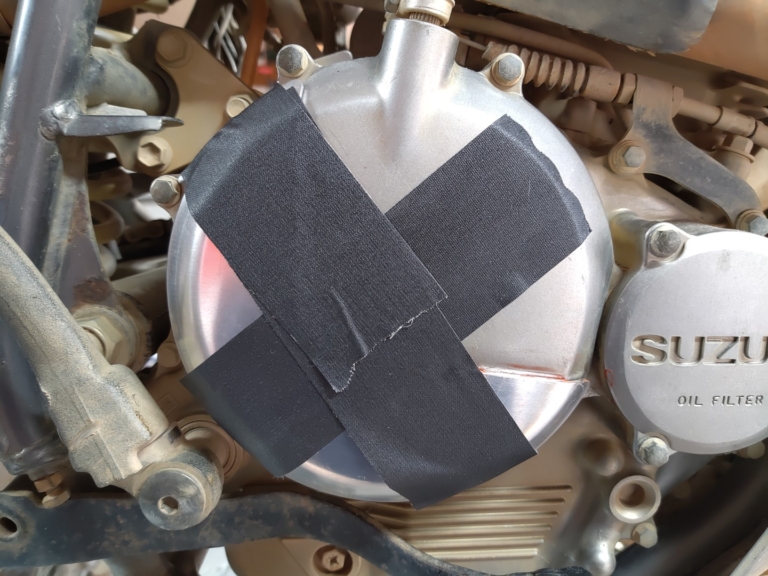
Step 6 – Use gaffer tape (or packing tape) to hold the armor in place for 24hrs while the RTV cures
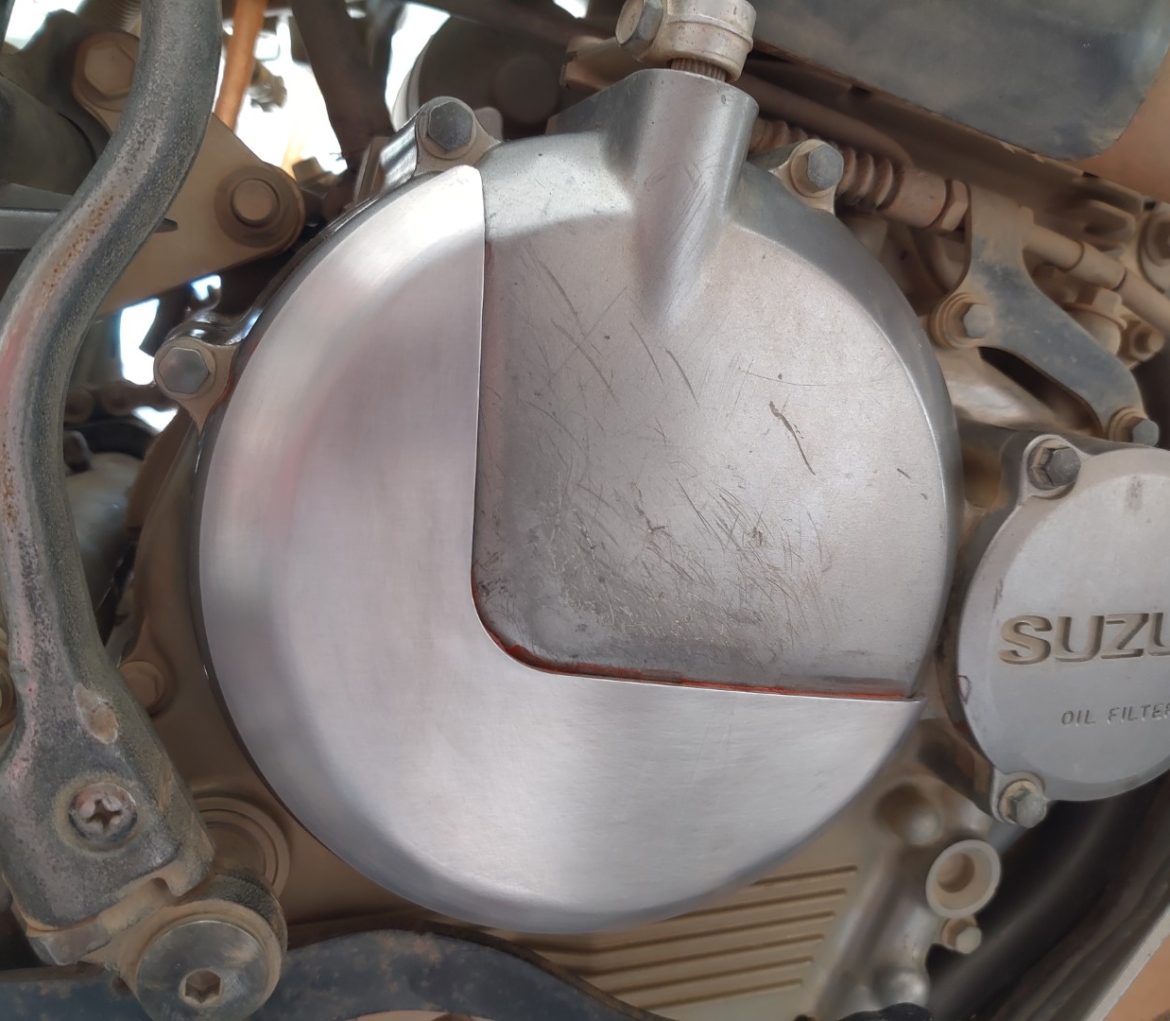
Step 7 – Remove the tape after 24hrs and polish or scuff the armor to your desired shine with steel wool or Scotch-Brite pads